Although dental implants are an increasingly popular treatment for restoring dentition in completely edentulous patients, not everyone desires or is suitable for this procedure. Conventional dentures still provide a predictable treatment outcome or may be required to help patients transition from dentures to implant-retained prostheses.
Outlined below are 10 essential steps in denture fabrication.
1. Pouring the Model
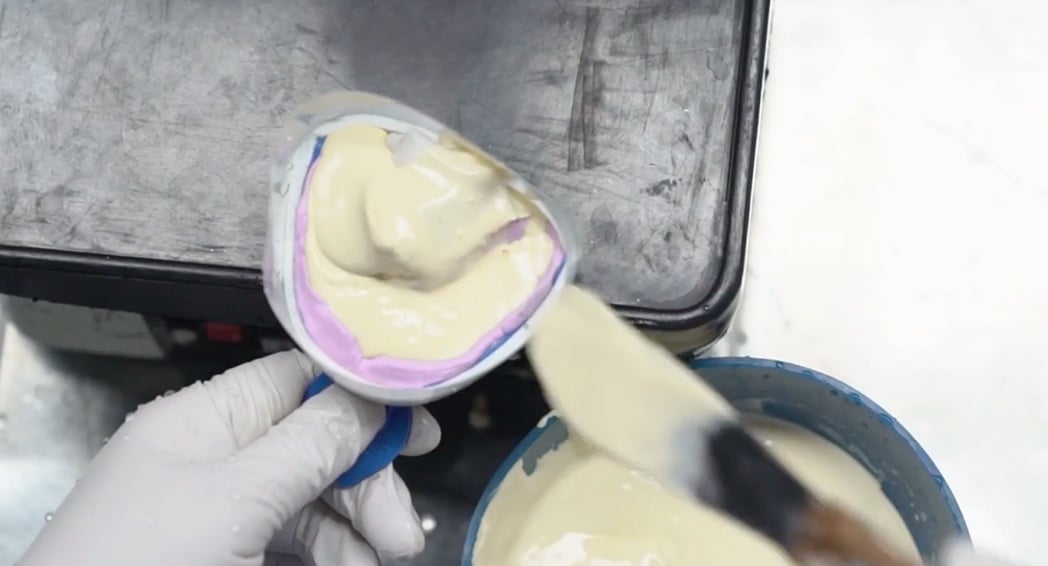
First, take a preliminary impression of the patient’s mouth using stock trays designed for edentulous patients. It may be necessary to enhance the tray periphery with wax. Pour the impression in dental stone using a vibrator to eliminate bubbles and voids.
2. Fabricating the custom tray and bite rim
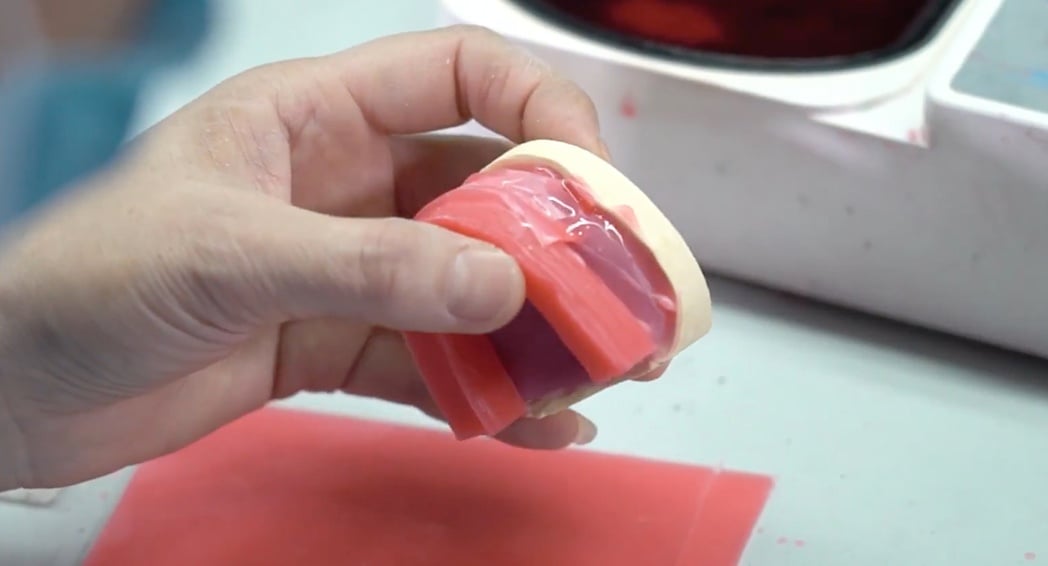
Your lab technician will fabricate a custom impression tray and wax bite rims. The bite rims need to be contoured to provide the correct lip support and indicate future incisal edge positions, the occlusal plate, the vertical dimension and the midline. Choose the tooth mode and shade best suited for the patient and include these details and any other information on your RX and return all items to the dental lab.
3. Articulating the models
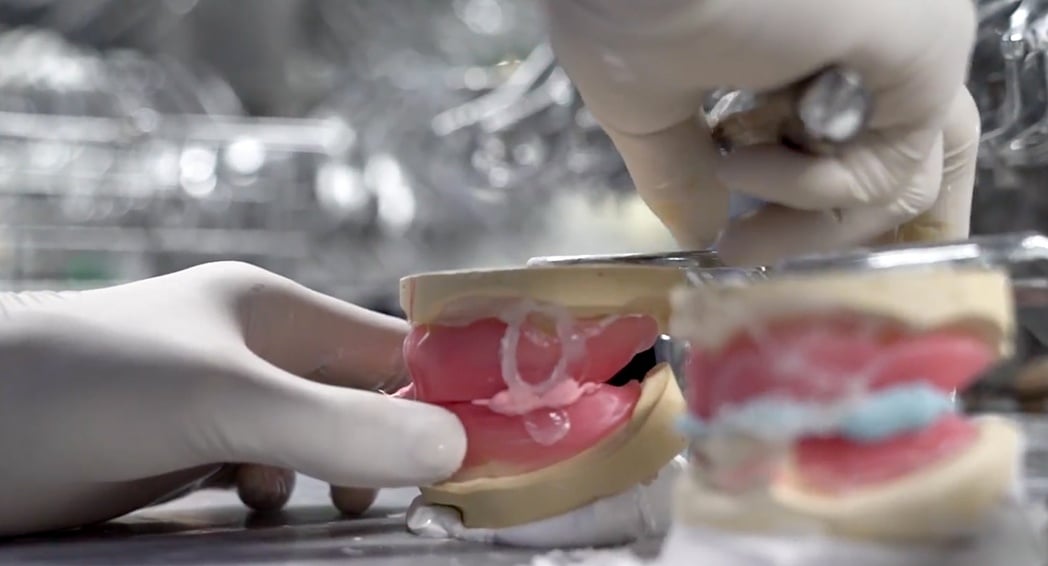
The dental indexes and mounts the master casts created from the custom tray impression and the bite rim measurements using an articulator to represent the patient’s jaw relationship.
4. Setting Up the Teeth
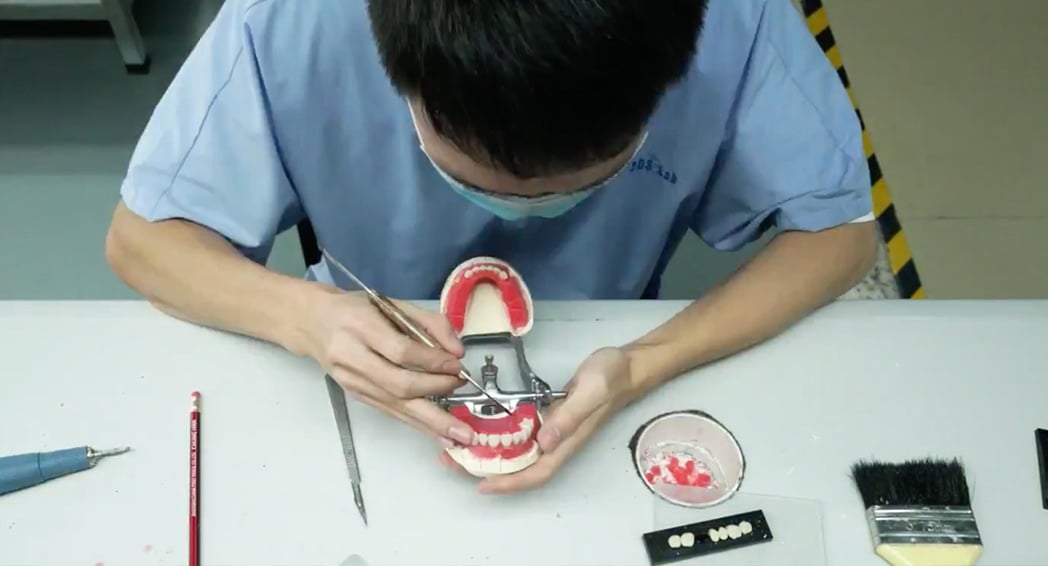
Your lab technician will set up the teeth, in the desired occlusal scheme. Assuring proper form and function.
5. Waxing
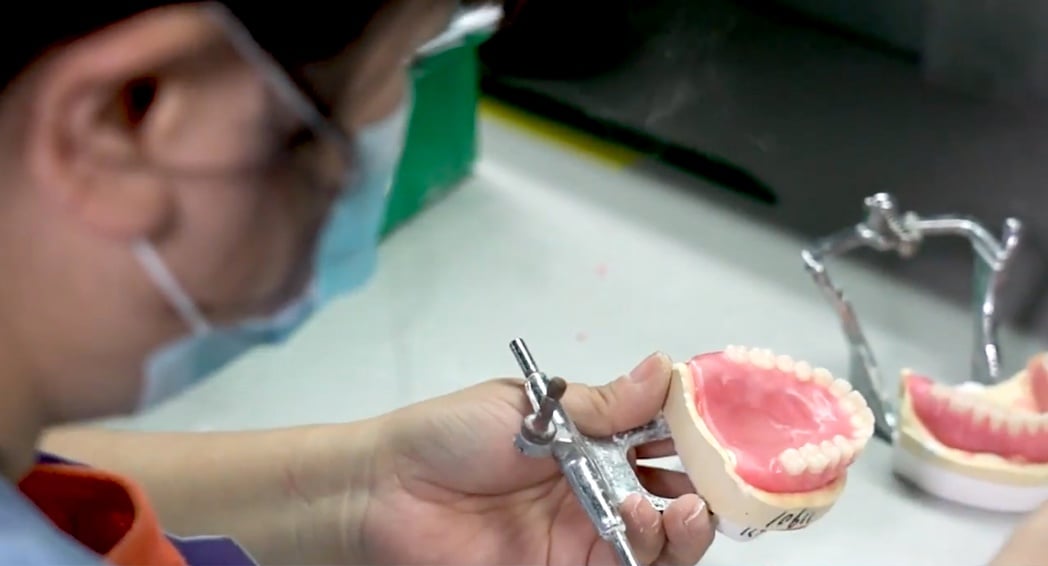
Once all the teeth are correctly set up, the technician adds additional wax around the teeth, gradually building up the correct gingival contours. Sufficient wax is added to properly support the facial muscles and create a natural-looking appearance. The wax can be lightly stippled so that when the denture is finished, the acrylic gums do not look unnaturally smooth.
6. Flasking
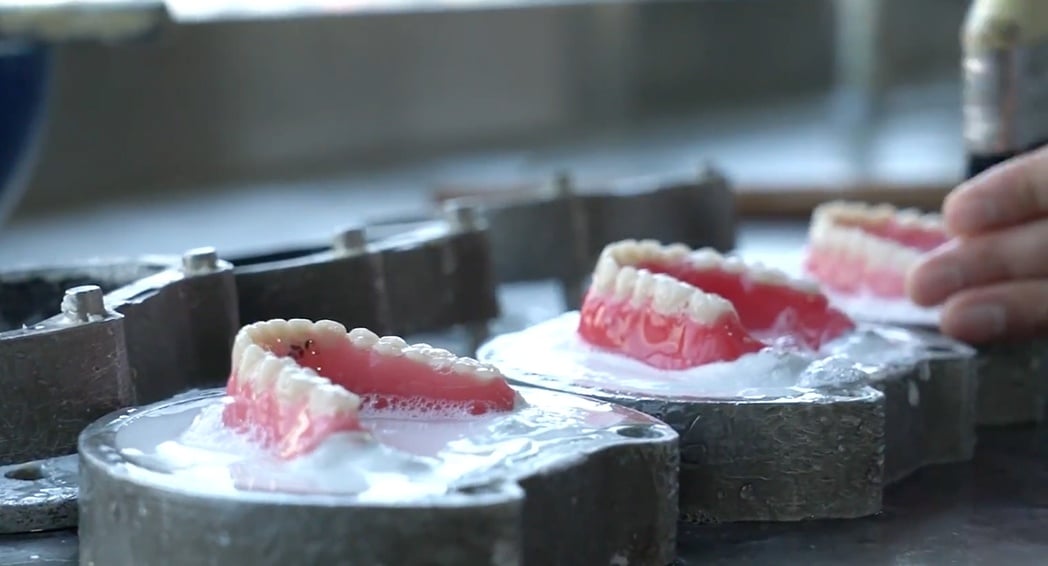
When the clinician and the patient have approved the teeth try in, the denture is ready to be processed. The first step is to flask the denture by placing the model with the denture in the bottom flask securing it with plaster. When the plaster is dried, the upper flask is put in place and filled with additional plaster. The flask is then heated until the wax is sufficiently melter. The flask is then opened, the wax is thoroughly flushed out leaving the teeth and the denture mold to be filled with acrylic.
7. Acrylic Mixing
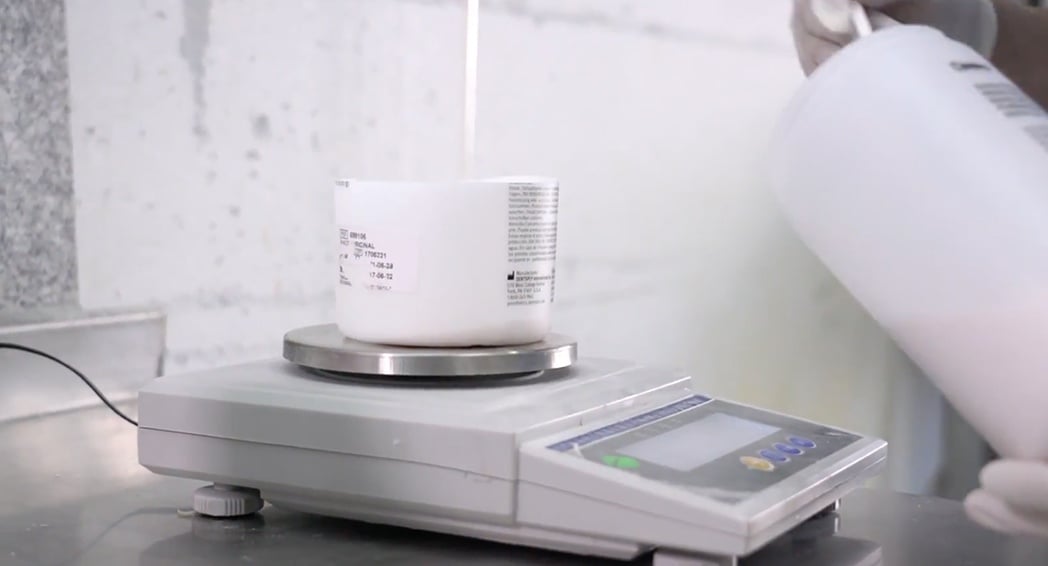
The technician accurately weights the monomer and polymer. Thoroughly mix them to form the acrylic.
8. Acrylic Pressing
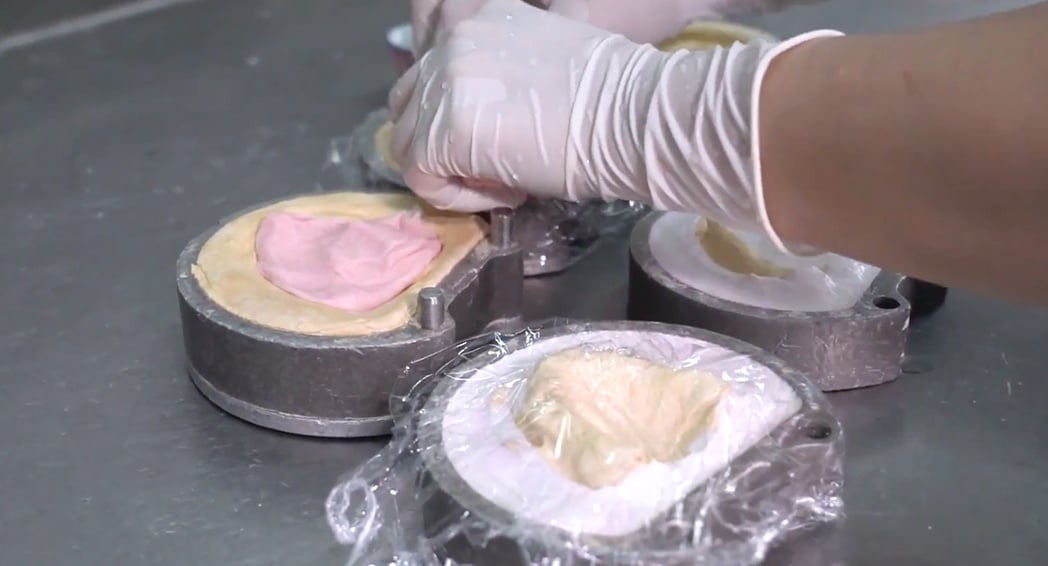
After the mold is prepared the acrylic is packed into the flask and the 2 halves are placed back together. The denture is then cured under pressure until the correct hardness is achieved. The denture is deflasked, cleaned of all plaster and ready for finishing.
9. Finishing
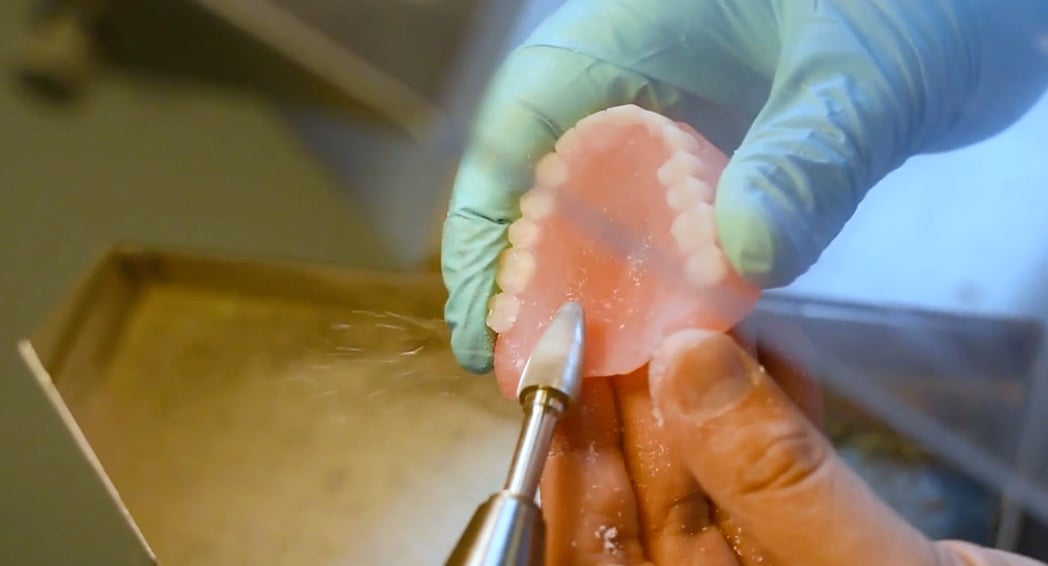
Each denture is hand finished using special burs to remove any excess acrylic around the edges and palatal area. The articulation is checked and adjusted if necessary.
10. Polishing
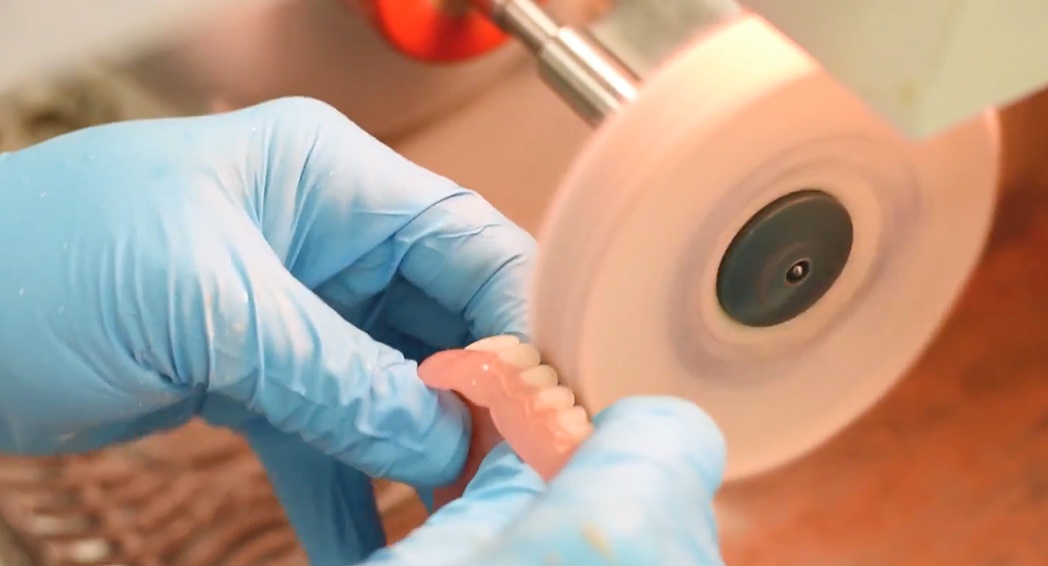
Finally, the denture is polished and smoothed with polishing mops and paste. To create a natural-looking luster.
Please be reminded that should you wish to discuss a case in more detail, our experienced technical team is here to assist you.
Click here to schedule a consultation with our technical team ›

References
http://www.speareducation.com/spear-review/20