Hawley retainers are a popular option for patients to wear following the completion of orthodontic treatment. The basic design of a Hawley retainer includes a labial bow fitted from cuspid to cuspid that retains the position of the anterior teeth. Two clasps are adapted to the posterior teeth for retention. There are four different types of clasps that can be used and which are ball clasps, C clasps, Arrow clasps, or Adams clasps. A standard Hawley retainer generally has ball clasps fitted between the first molars and second bicuspids. The clasps and labial bow are seated in place on a removable plate made from acrylic.
Outlined below are the nine stages of fabricating a Hawley retainer.
1. Preparing the Model
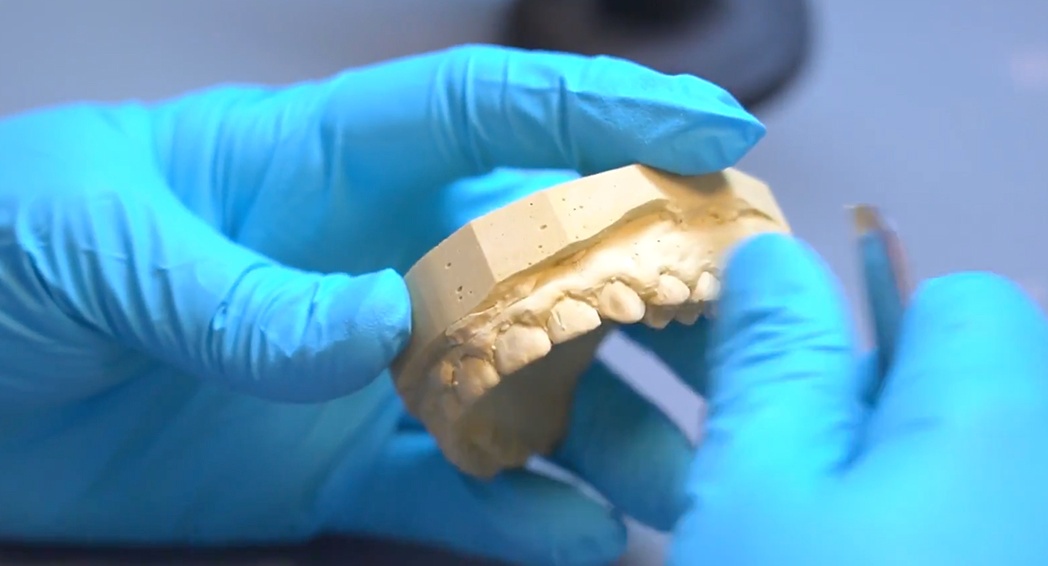
Your lab technician preps the model by using a plaster knife to carefully remove all bubbles and imperfections around the gingival margins. Still using the plaster knife, the technician prepares the interproximal embrasure between the posterior teeth for the posterior clasps. Removing these imperfections ensures that the labial bow and clasps will fit correctly.
2. Wire Bending
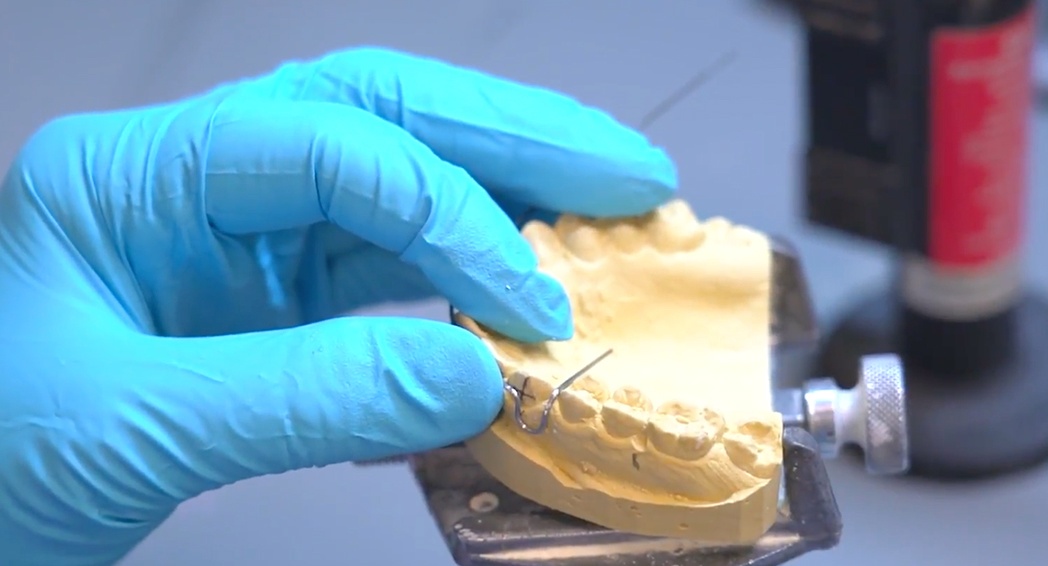
Next, the technician carefully adapts the wire for the labial bow from cuspid to cuspid using the U loops fitted to the cuspids. Once fitted, the technician brings the tags at each cuspid over the embrasure and fits them approximately 1mm from the palate. The lab technician fits ball clasps into the interproximal embrasures between the second bicuspids and first molars. The tags are adapted from the ball clasps to fit approximately 1mm from the palatal fitting surface.
3. Placing Separator
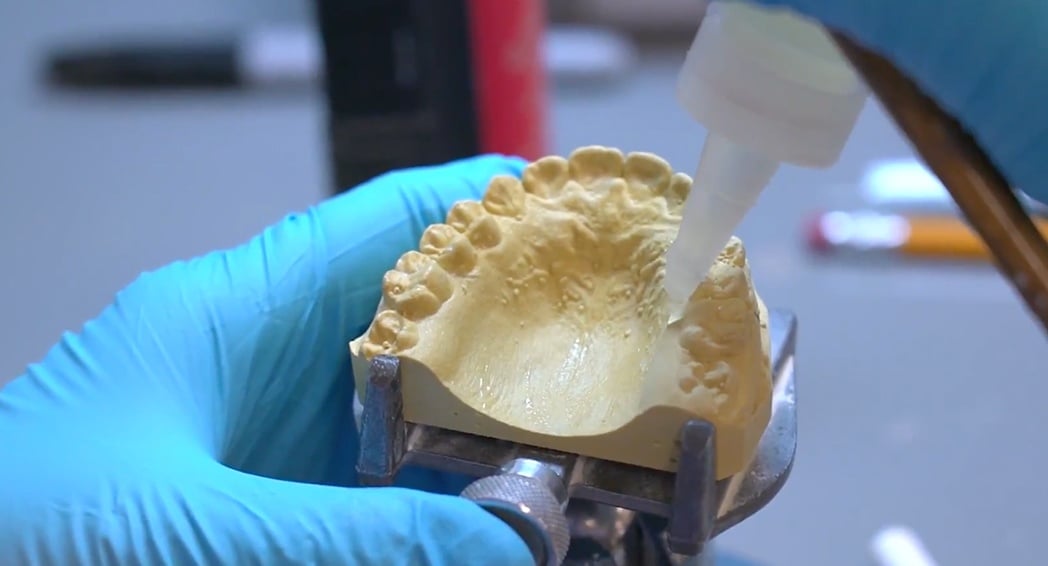
Once the wires have been successfully adapted, the technician removes them from the model and coats the model with a separator.
4. Waxing the Wires in Position

The lab technician puts the labial bow back onto the model, and places hot wax labially to hold the bow in position. The technician repeats the process for the ball clasps using hot wax buccally to secure the clasps.
5. Placing the Model in Water
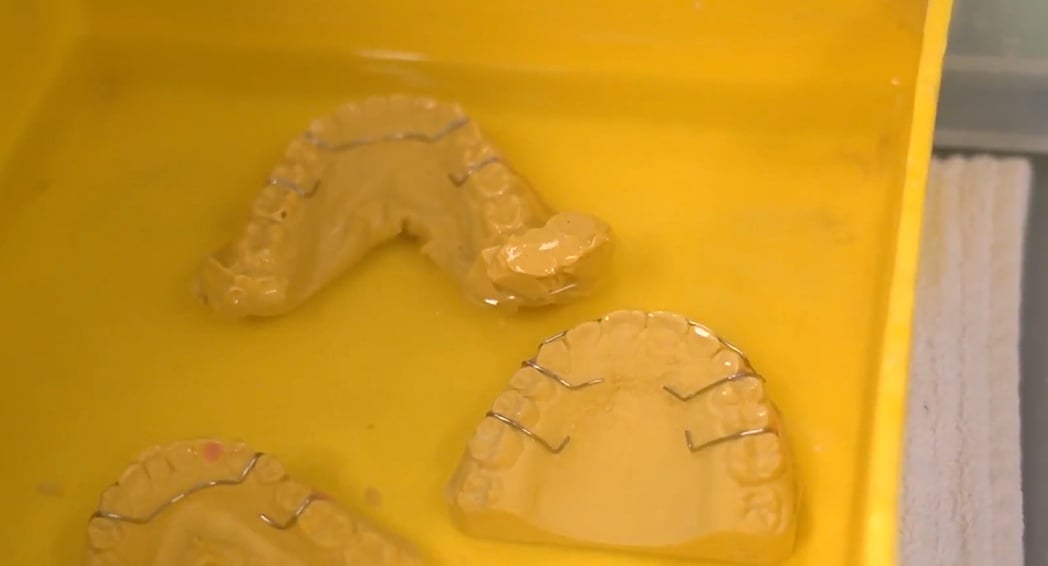
Next, the model soaks in water to prevent bubbles from forming during the acrylic and pressurizing process.
6. Acrylic Application
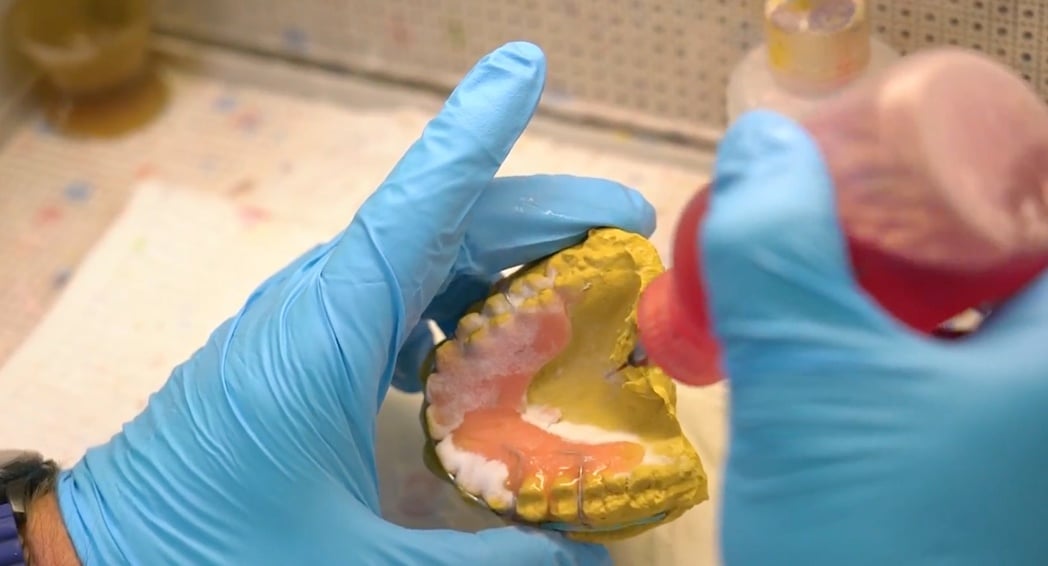
The technician removes the model from the water and adds acrylic polymer in layers, gradually building up the plate to the desired dimensions. Several layers are needed to complete this process. Excess powder is carefully tapped off the model.
7. Pressurizing
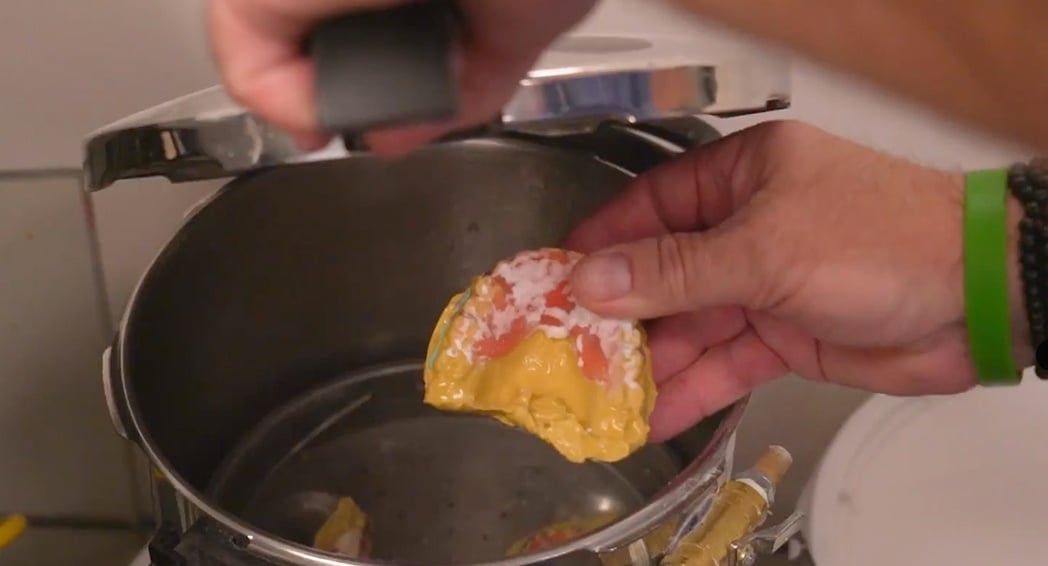
The acrylic retainer and model is placed in a pressure cooker to be cured under pressure. This ensures that the acrylic is fully hardened.
8. Trimming
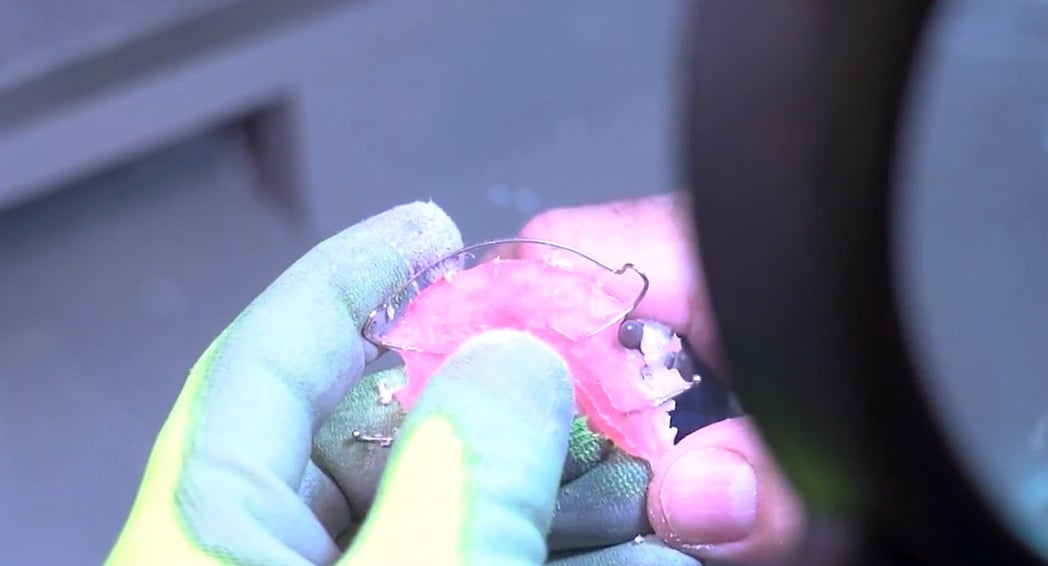
The Hawley retainer is removed from the model. Now it’s ready for trimming. The technician removes excess acrylic in order to seat the plate appropriately around the gingival margins. The technician also removes the excess acrylic from the palatal area, eliminating any sharp edges that could irritate or damage the oral tissues.
9. Polishing
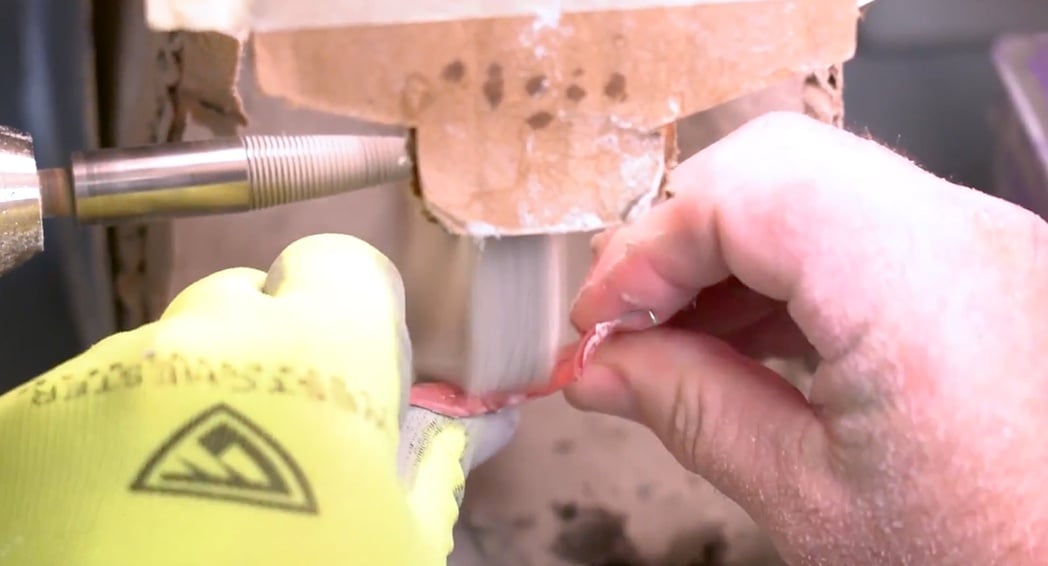
The final stage is to polish all surfaces of the Hawley retainer using soft mops and polishing compounds.
Hawley retainers are highly effective because the labial bow is used to maintain tooth positions. If needed, the labial bow may also be adjusted to make very minor adjustments to the positioning of anterior teeth, slightly improving their alignment. Minimal occlusal interference allows the teeth to settle into a long-term, stable bite relationship.
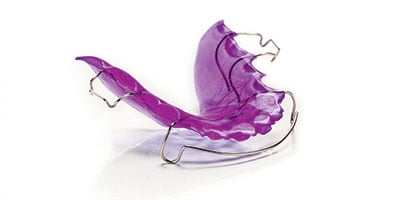
View our Hawley Retainers here ›
Please be reminded that should you wish to discuss a case in more detail, our experienced technical team is here to assist you.
Click here to schedule a consultation with our technical team ›

References
https://www.slideshare.net/IshfaqAhmad6/removable-appliance
http://www.excelorthodontics.com/appliances/retainers/hawley-retainers/